PoshC2 - A fully powershell command and control server
Installation
PoshC2 is very easy to install. If you are using Windows 10 it may be worth disabling Windows Defender during the installation due to the PowerShell payloads bundled with PoshC2, or set C:\Temp\ as an exclusion from your Anti-Virus.
To install it, on the PoshC2 Github Page there is a one-line installation command that you simply run in command prompt and PoshC2 will be installed.
powershell -exec bypass -c “IEX (New-Object System.Net.WebClient).DownloadString(‘https://raw.githubusercontent.com/nettitude/PoshC2/master/C2-Installer.ps1‘)”
Usage
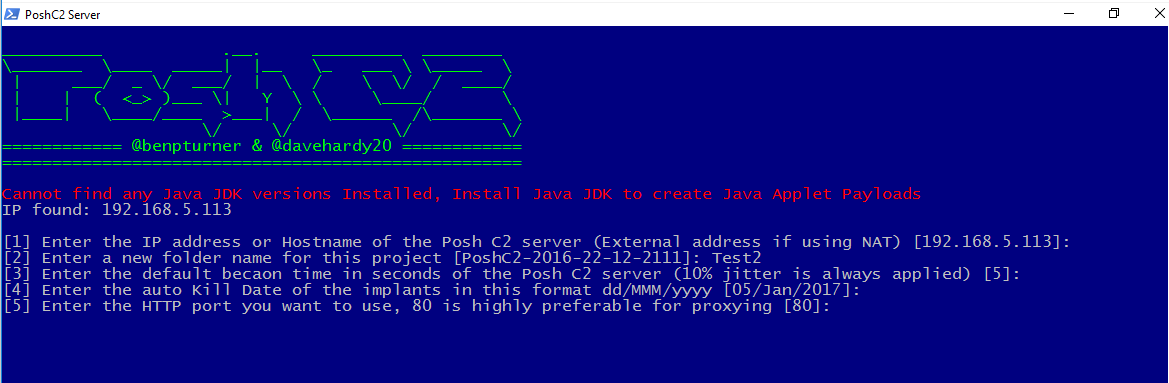
Once PoshC2 has been installed, you can navigate to C:\Temp\PowershellC2\. In here all of the files which comprise PoshC2 are available. To create a new ‘project’, simply double click on Start-C2-Server. There will then be a wizard which you should work through. Once this process is complete your project will be launched automatically, and a new folder will be created with the same name you gave the project.
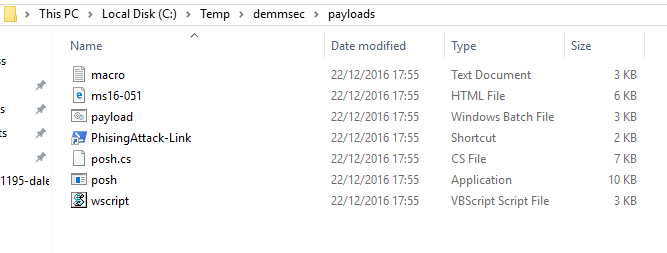
Inside of C:\Temp\<project name> there will be a folder called payloads. Everything in here can be used to have a remote system connect back to your running instance of PoshC2. Also on the left hand window of PoshC2 there are a number of one-liners which can be used to run your implant on a target system. My favourite payload which is automatically generated is the office macro which can be easily pasted into a office document.
Other notes
- PoshC2’s communication is completely encrypted. This means that during a pentest there is no risk to customer data as it leaves the network. The data is only readable by the pentester running the PoshC2 instance.
- Modules can be easily added to PoshC2 by simply placing them C:\Temp\PowershellC2\Modules. They can then be invoked using the normal method.
- PoshC2 seems to still be under active development and as a result receives many new features often.