How to make a Poison Tap (Hack locked Computers)

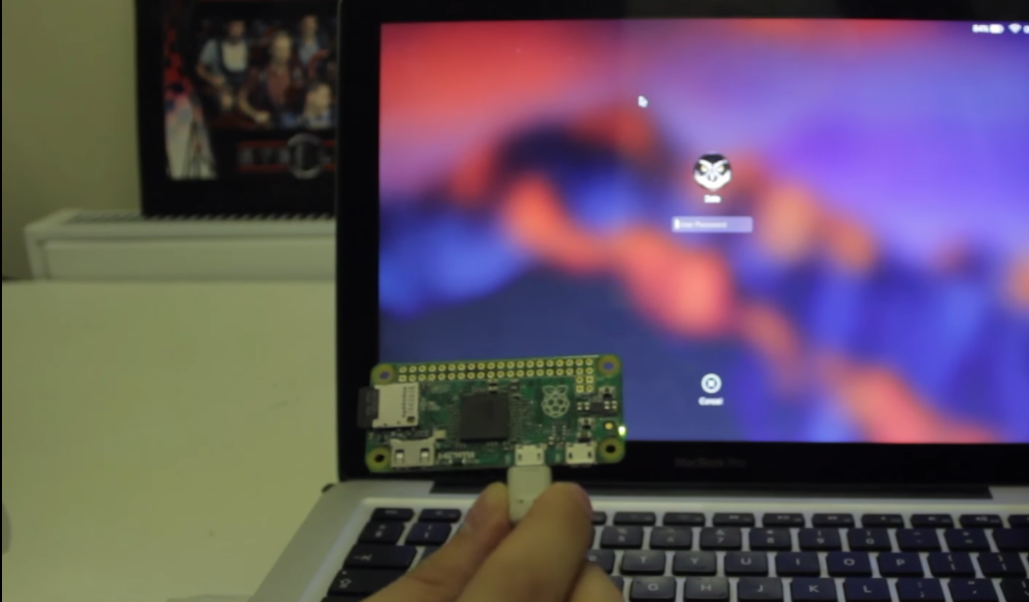
Samy Kamkar released a tool which allows for a Raspberry Pi Zero to emulate a USB Ethernet device and steal cookies from a locked machine.
We decided to make one and see how it worked. Below is a quick tutorial on how to set this up for yourself!
Requirements
- Raspberry Pi Zero (Only the Zero will work)
- Micro SD Card (8GB should be fine)
- USB OTG Adapter (Used for setting up the Pi)
- USB Ethernet Adapter
- Micro USB Cable
- SD Card Reader
- About 10 Minutes of time.
This kit on amazon for £19.00 has everything you need to do this
Step 1
You will need the latest version of Raspbian, you can download this using the following link:
https://downloads.raspberrypi.org/raspbian_lite_latest
Step 2
Next we need to install the Raspbian Image on the Pi, to do this we will use Win32DiskImager , if you are on a Mac or Linux you can use DD in order to install the image.

Step 3
Now we have Raspbian installed on the SD card we need to add a file with no extension called ‘ssh’ into the boot directory of the SD card.

This allows the Pi to automatically start SSH without a screen attached.
Step 4
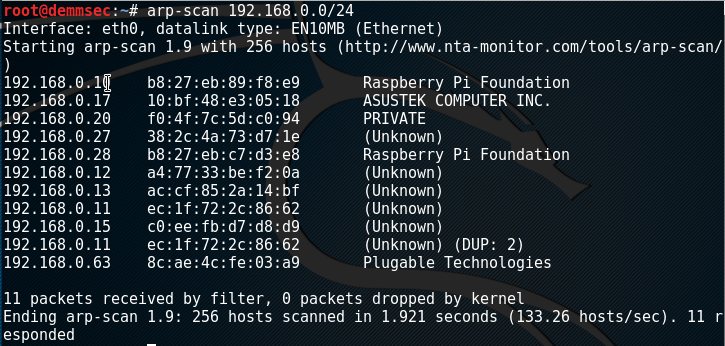
Find the Pi. I used arp-scan on Linux in order to find my Pi on the network. My USB Ethernet adapter is branded Plugable so it was easy to identify.

The default credentials are:
Username: pi
Password: raspberry
Step 5
At this point we are ready to start installing the Poison Tap software. We need to install Git on the Pi Zero. We can simply run:
sudo apt-get install git
Once we have Git installed we need to clone Samy’s repository:
git clone https://github.com/samyk/poisontap.git
Step 6
With the Poison Tap Repo installed next we need to run a quick setup script in order to have everything set up:
wget https://demmsec.co.uk/install.sh; sudo bash install.sh
Step 7
At this point your very own Poison Tap should be ready to try! Plug it into your computer via USB and see if a network adapter comes up!