Installing PFSense as a router for our lab
Objectives
- To install PFSense in a virtual machine in order to have it act as the router for the virtual hacking lab.
- Change network settings in order to pass the traffic from the Windows Server 2012 virtual machine to the PFSense virtual machine.
- Test connectivity
First Step
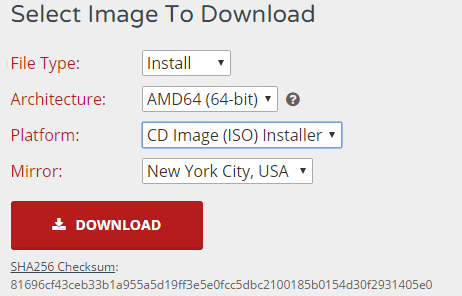
The first step is to download the latest available version of PFSense.

In order to select the correct architecture you need to look ‘System’ within the control panel of Windows. You can do this by right clicking the start button on Windows 10 and clicking system. You should see something similar to the image below.
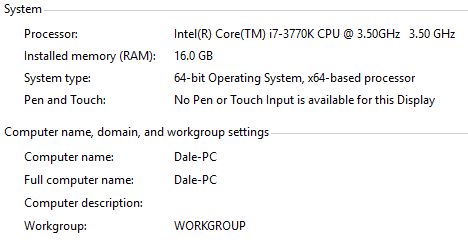
Next to the system type you will see your operating system architecture, and your CPU architecture. If you have a 64bit operating system you need to select AMD64 on the PFSense download page. If you have a 32-Bit operating system, you need to select ‘i386’.
Once we have our architecture selected, we need to select the CD Image platform.
Installing PFSense
With the PFSense ISO downloaded we can now move on to installing PFSense in VirtualBox. If you haven’t set up Virtualbox and Windows Server 2012 yet, take a look at that video first.
Firstly we need to create a new virtual machine within Virtualbox.
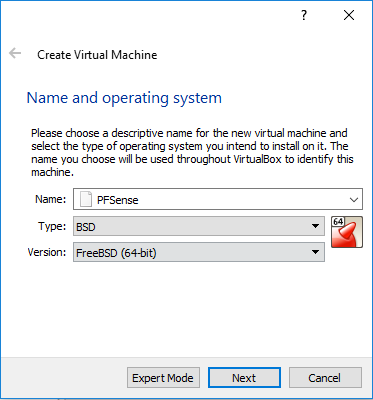
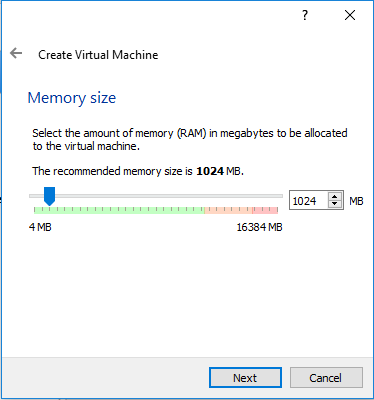
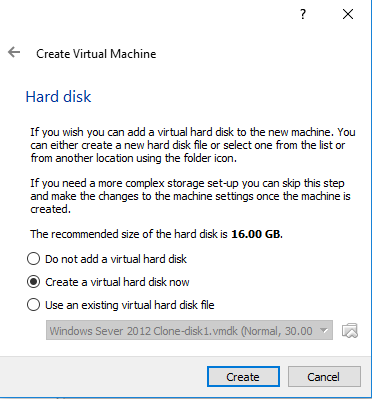
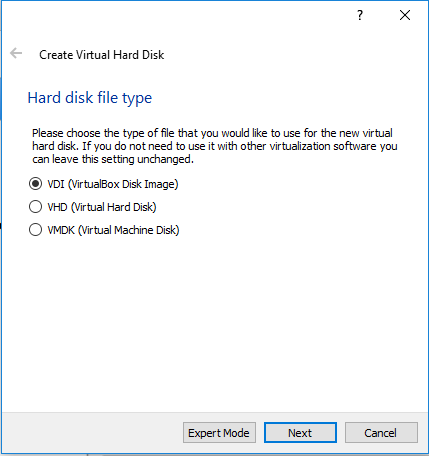
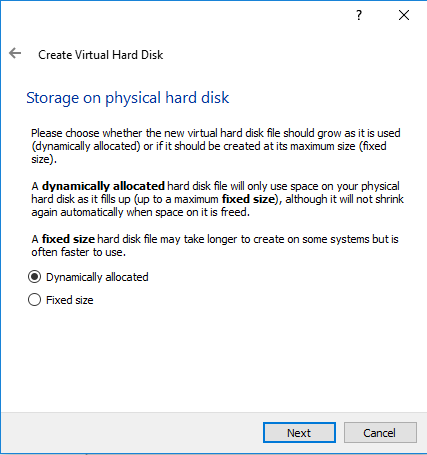
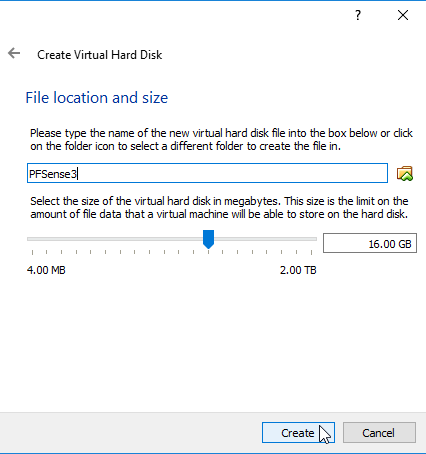
With the new virtual machine now created, on first boot we will be prompted to select an ISO image. Select the PFSense ISO you downloaded in section 1 of this tutorial. Next follow the images below to set up PFSense.
[Best_Wordpress_Gallery id=”10″ gal_title=”Configure PFSense”]
Configuring other virtual machine
Once we have PFSense installed we need to configure the Windows Server 2012 virtual machine to use our PFSense virtual machine as it’s router. To do this follow the images Below.
[Best_Wordpress_Gallery id=”11″ gal_title=”Configure other Virtual Machines to use PFSense”]
At this point we have successfully completed setting up our PFSense virtual machine.